

Step-by-Step DIY: How to Replace and Upgrade the Trim on an Old Lampshade or Pillow
Step-by-Step DIY: How to Replace and Upgrade the Trim on an Old Lampshade or Pillow
Some of the most satisfying home decor upgrades don't require buying anything new — they require reimagining what you already have. A worn lampshade with beautiful bones, a pillow cover with outdated trim: all of these can be completely transformed with a simple trim replacement. Decorative trim — fringe, gimp, tassel, ribbon, cord — is one of the most underrated tools in the home decorator's kit.
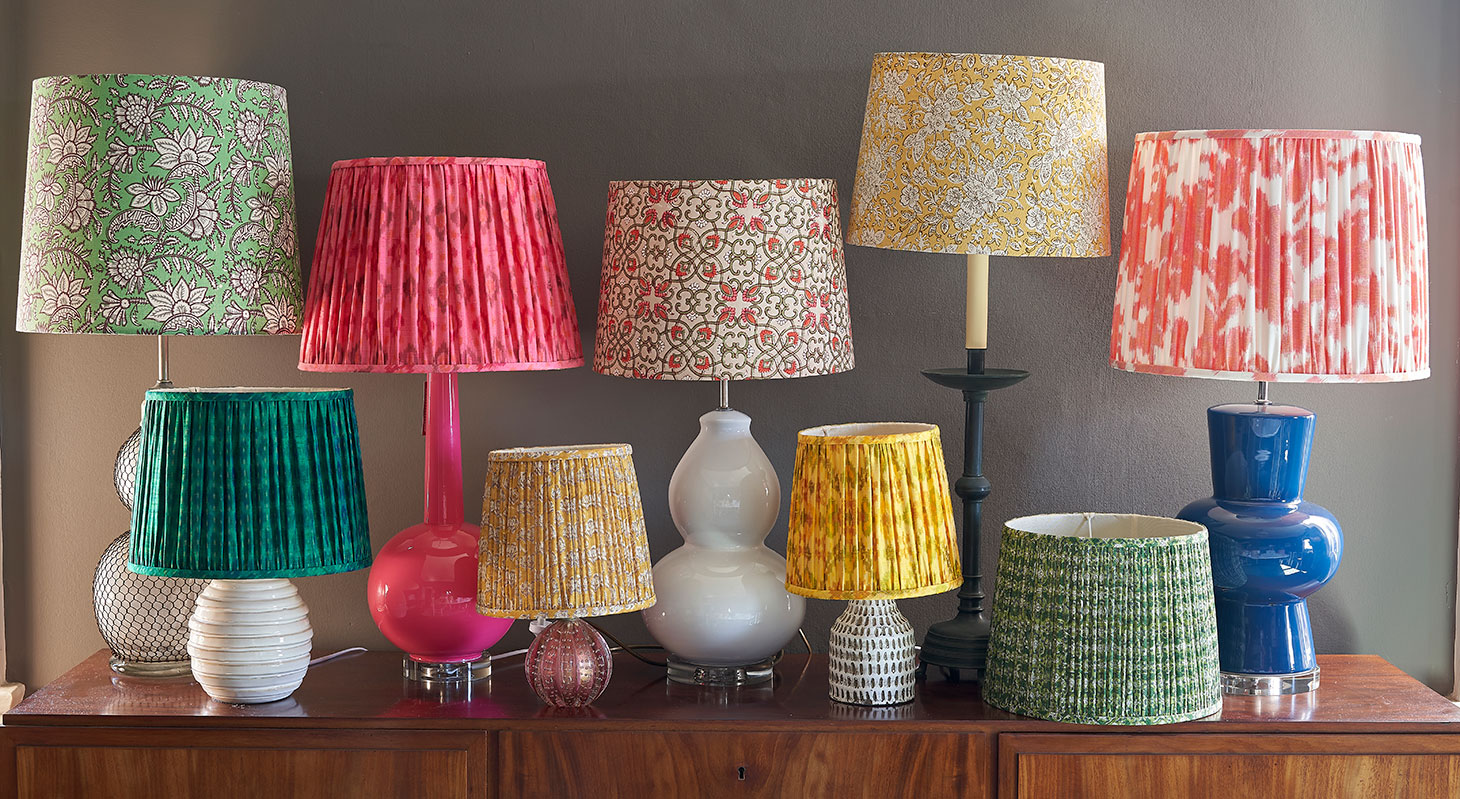
What You'll Need
Tools
- Fabric scissors or sharp craft scissors
- Seam ripper (for removing old trim cleanly)
- Fabric glue or hot glue gun (for lampshades)
- Needle and thread matching your new trim
- Pins or wonder clips
- Measuring tape
Materials
- Your lampshade or pillow cover
- New decorative trim (fringe, gimp, tassel trim, or ribbon)
- Optional: iron-on hem tape for an extra-secure bond on pillow edges
Step 1: Choosing Your New Trim
Before you begin, it's worth spending time selecting the right trim. This decision will define the entire character of the finished piece.
For a Luxurious, Traditional Look
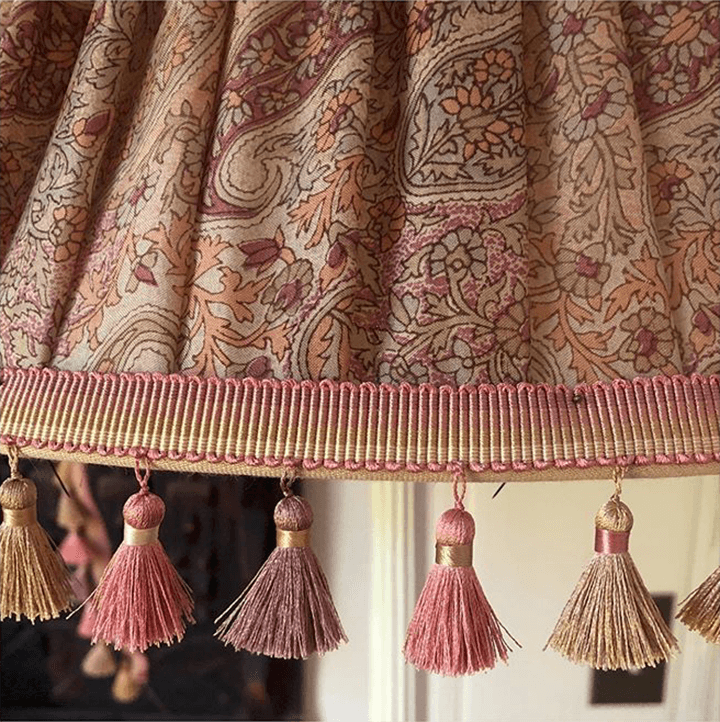
Choose tassel fringe or bullion fringe in a colour that picks up one tone from your existing decor. Gold, ivory, and deep burgundy are classic choices for lampshades. For pillows, a knotted fringe or brush fringe in a complementary colour adds instant heritage appeal.
Shop Decorative Trims at Classic Modern Fabrics
Tassel fringe, gimp trim, ribbon, and tiebacks — everything you need for a beautiful trim upgrade.
For a Contemporary, Clean Result
Choose gimp trim or a flat grosgrain ribbon in a contrasting tone. A black gimp on a cream lampshade is crisp and modern; a terracotta ribbon on a neutral linen pillow reads as contemporary and earthy.
For a Playful or Eclectic Effect
Choose a multicolour pom-pom fringe, a scalloped trim, or a beaded fringe from our tassel fringe collection. These work brilliantly on casual accessories and children's room lighting.
Measure the total length of trim needed by measuring the perimeter of your lampshade base or the edge of your pillow, then add 10–15% extra for overlap and error.
Step 2: Removing the Old Trim
On a Lampshade
Use a seam ripper or small, sharp scissors to carefully lift the old trim away. Work slowly around the perimeter. If the trim was glued, use a damp cloth and gentle heat from a hairdryer on a low setting to loosen the adhesive. Clean up any residual glue with a cotton bud dipped in rubbing alcohol.
On a Pillow
Use a seam ripper to carefully remove the stitching that secures the trim, without cutting into the main pillow cover fabric. Press the pillow edge flat with an iron before applying new trim.
Step 3: Preparing and Pinning
Before attaching anything permanently, dry-fit your new trim around the entire perimeter. Check you have enough, decide where the join point will fall, and ensure the trim is sitting straight and even. Use pins or wonder clips to temporarily hold it in place and step back to assess before committing.
Step 4: Attaching the Trim
Gluing (Lampshades)
Work in sections of about 20cm at a time. Apply a thin, even line of glue and press the trim firmly in place, holding it for 20–30 seconds. Use a folded cloth to press rather than your fingers to avoid burns. Overlap the trim ends by about 1.5cm at the join point, folding the raw end under to prevent fraying.
Sewing (Pillows)
Work a slip stitch or whip stitch along the header of the fringe or the flat edge of the trim, securing it to the pillow cover seam. Keep stitches small and even, and maintain consistent tension throughout. Find needles and thread in our sewing notions collection.
Step 5: Finishing and Inspection
- Check that the trim is sitting flat and even all the way around
- Inspect the join point and secure any loose ends with a dab of glue or a few hand stitches
- For fringe, gently comb out any twisted tassels with your fingers
- Always seal raw trim ends with a tiny dab of fabric glue or clear nail varnish to prevent fraying
Shop All Trims & Embellishments
Everything you need for a beautiful, professional-finish trim upgrade — in one place.
Conclusion
Replacing the trim on a lampshade or pillow is one of those projects where the effort-to-impact ratio is incredibly high. A new fringe, gimp, or ribbon trim can take a tired piece and make it look like a considered, high-end purchase — for a fraction of the cost. Explore our full range of decorative trims, fringe, and gimp to find the perfect finishing touch for your next project.
SEO Keywords: DIY lampshade trim, how to replace pillow trim, fringe trim DIY, gimp trim tutorial, decorative trim home decor, lampshade makeover DIY
Dejar un comentario